Key takeaways
- Use a pry bar and reciprocating saw: Cutting nails with a recip saw between the boards and stringers saves far more usable wood than prying alone.
- Pull every nail: Leftover nails wreck saw blades and sanders, so go over each board with a punch and pliers.
- Sort by quality: Set aside your straightest, cleanest boards for the bar top and front face where looks matter most.
A pallet-wood outdoor bar is one of the most satisfying weekend builds you can tackle, turning free or cheap reclaimed timber into a rustic centerpiece for your patio. With a few pallets, basic tools, and a plan, you can build a sturdy serving bar with a work surface, bottle storage, and that weathered farmhouse charm that store-bought sets rarely match.
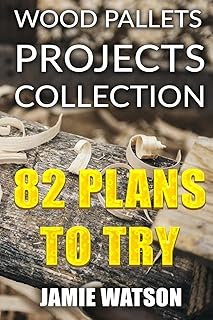
This guide walks you through sourcing safe pallets, breaking them down, assembling a solid frame, and finishing the bar so it survives the seasons. You do not need to be a master carpenter, just patient, careful with measurements, and willing to sand. Good plan books and beginner project guides can fast-track the learning curve if this is your first pallet build.
Our top picks




As an Amazon Associate we earn from qualifying purchases at no extra cost to you.
⚡ Save on Your Next PC — Amazon Prime
Prime members get fast free shipping on the systems above, plus early access to Prime Day & Black Friday PC deals. New members get a 30-day free trial.
Watch: How to Build a DIY Outdoor Bar with Pallet Wood — Video Review
Sourcing and Choosing Safe Pallets
Not all pallets are safe to reuse. Look for the IPPC stamp and choose ones marked “HT” (heat treated) rather than “MB” (methyl bromide), which indicates chemical fumigation you do not want near a bar. Avoid pallets with oil stains, unknown residue, or heavy warping. Standard GMA pallets in good shape give you the most consistent, reusable boards.
Breaking Down Pallets Cleanly
- Use a pry bar and reciprocating saw: Cutting nails with a recip saw between the boards and stringers saves far more usable wood than prying alone.
- Pull every nail: Leftover nails wreck saw blades and sanders, so go over each board with a punch and pliers.
- Sort by quality: Set aside your straightest, cleanest boards for the bar top and front face where looks matter most.
Building the Frame and Bar Top
Start with a rectangular base frame roughly 42 inches tall, standard bar height, using the thick pallet stringers as your vertical legs and horizontal rails. Screw rather than nail for strength; 2.5-inch exterior screws hold far better outdoors. Build two side panels, connect them front and back, then add internal shelves for bottle and glass storage. Lay your best boards across the top, letting them slightly overhang the front for a finished edge, and secure from underneath so no screw heads show on the surface.
Sanding, Sealing, and Finishing
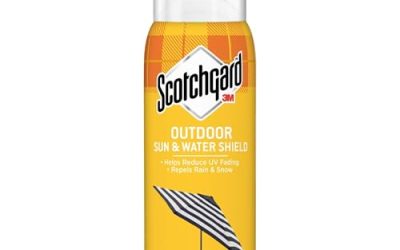
Sand progressively from 80 to 120 to 220 grit until the surface is smooth enough to wipe without splinters. Reclaimed wood is thirsty, so apply an exterior wood stain or oil, then two or three coats of a weatherproof outdoor sealer or spar urethane on the bar top, which takes the most abuse. Reseal annually to keep water and UV from greying the timber.
Tips
- Dry-fit before you screw: Assemble loosely first to catch alignment problems while they are still easy to fix.
- Predrill hardwood boards: Old, dry pallet wood splits easily, so a pilot hole before every screw prevents cracks.
- Add casters if you want mobility: Locking wheels let you roll the bar into shade or storage.
- Follow a proven plan first time: A step-by-step pallet project book removes guesswork on dimensions and joinery.
Frequently Asked Questions
How many pallets do I need for a bar?
A standard single-tier bar typically uses three to four pallets, two for the structure and one or two broken down for the top and facing boards. Grab an extra in case some boards are unusable.
Is pallet wood strong enough for a bar?
Yes, when screwed together properly. Pallets are engineered to hold heavy loads, so a well-braced frame easily supports drinks, elbows, and a countertop of bottles.
How do I keep the bar from rotting outdoors?
Seal all surfaces, keep the legs off bare soil with feet or pavers, and reseal yearly. Covering or storing it over winter dramatically extends its life.
Do I need power tools?
A drill/driver and a saw make the job far easier, but a determined builder can manage with a hand saw, hammer, and pry bar. Power tools mainly save time and effort.
Conclusion
Building a pallet-wood outdoor bar is an affordable, rewarding project that rewards patience over skill. Source safe heat-treated pallets, screw a solid 42-inch frame, top it with your cleanest boards, and finish with a weatherproof sealer. Lean on a beginner plan book for your first attempt and you will end up with a durable, one-of-a-kind bar that becomes the heart of your backyard gatherings.