Key takeaways
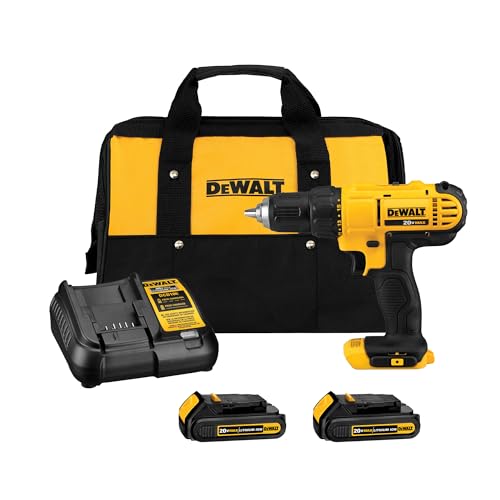
- A cordless drill or impact driver in a 12V or 18V class. Brands such as DEWALT, Milwaukee and Ryobi all sell entry-level kits.
- A speed square and a handsaw or miter saw for clean cuts.
- Half-inch wood and metal drill bits for drainage.
- Exterior-rated screws; coated or stainless hold up better than bare steel.
- Gloves, safety glasses and a dust mask for cutting and concrete.
The best DIY planters for most gardeners are cedar planter boxes, galvanized stock tanks and fabric grow bags, because each can be built or set up in under an hour with basic tools and holds up outdoors. Concrete planters are the best project for a permanent, heavy look, while painted buckets and pallet boxes are the cheapest way to start. Pick the material by how long you want it to last and how much weight your deck or balcony can take.
Our top picks


As an Amazon Associate we earn from qualifying purchases at no extra cost to you.
Quick Comparison of DIY Planter Types
| Type | Best for | Typical size | Build time | Lifespan | Cost tier |
|---|---|---|---|---|---|
| Cedar planter box | Best overall | 24 x 12 x 12 in | 45-60 min | 8-12 years | Mid |
| Galvanized tub or stock tank | Best for vegetables | 2 x 2 ft up to 2 x 6 ft | 15 min (drill drain holes) | 10+ years | Mid to upper-mid |
| Fabric grow bag (Smart Pot style) | Best for beginners | 5 to 20 gallon | None | 3-5 seasons | Budget |
| Concrete planter (Quikrete mix) | Best statement piece | 12-18 in diameter | Hours plus 48-72 hr cure | 20+ years | Mid |
| 5-gallon bucket planter | Best budget | 12 in tall, 11 in wide | 10 min | 2-4 years in sun | Budget |
| Upcycled pallet planter | Best for herbs on a wall | 40 x 48 in pallet | 1-2 hr | 2-5 years | Budget |
Lifespans are general ranges for each material under normal outdoor use, not manufacturer guarantees.
Best Overall: Cedar Planter Box
Cedar resists rot because of its natural oils, so an untreated box can last close to a decade outdoors. A simple cut list for a 24 x 12 x 12 inch box uses 2×6 boards: two 24-inch front and back sides per layer, two 12-inch ends, and 2×2 corner posts. Join with exterior deck screws, 2.5 inches long, and drill a pilot hole to prevent splitting. Add four to six half-inch drain holes in the base. Skip pressure-treated lumber for edible plants unless it is rated for ground contact and you line the box.
Trade-off: cedar costs more than pine, and the wood greys unless you apply a plant-safe oil finish.
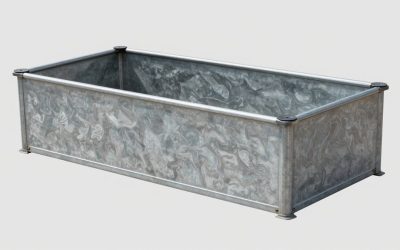
Best for Vegetables: Galvanized Tub or Stock Tank
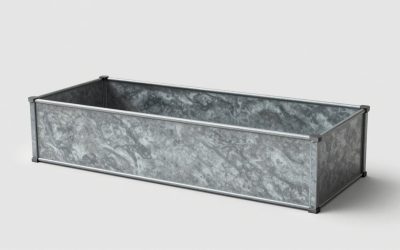
A galvanized steel tub from a brand like Behrens, or a livestock stock tank, makes a deep raised bed once you drill drain holes with a metal bit (1/2 inch every 6 to 8 inches across the base). The depth, typically 18 to 24 inches, holds enough soil for tomatoes and peppers. The trade-off is heat: dark or bare metal warms soil in summer, so water more often in July and consider lining the sides with a thin layer of bubble wrap or shading.
Best for Beginners: Fabric Grow Bags
Fabric pots such as Smart Pot bags need no building and drain well because roots air-prune at the fabric. A 10-gallon bag is a solid size for one pepper or one tomato, and a 20-gallon for a determinate tomato or a few root crops. The trade-off is that they dry out quicker than rigid pots and fade over three to five seasons.
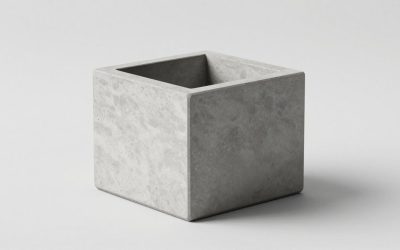
Best Statement Piece: Concrete Planter
Mix Quikrete or a similar sand-and-cement mix with water to a thick oatmeal consistency, pour it between a larger and smaller mold (two nested buckets or plastic bins), and tap to remove air. Let it cure for 48 to 72 hours, then soak it in water and rinse before planting, since fresh concrete is alkaline. Wear gloves and a dust mask when mixing. The trade-off is weight: a 16-inch concrete planter can weigh 40 pounds empty, so it is not for a weak balcony.
Best Budget: Five-Gallon Bucket Planter
A food-grade bucket, a half-inch drill bit and a few minutes give you a planter that suits herbs, peppers and strawberries. Use light-colored buckets in hot climates, because black plastic overheats roots. UV light degrades plastic, so expect two to four years in full sun.
Worked Example: Soil Volume and Cost for a Cedar Box
Inner volume matters because roots need room. A 24 x 12 x 10 inch box holds 24 x 12 x 10 = 2,880 cubic inches. One cubic foot is 1,728 cubic inches, so this box takes about 1.7 cubic feet of potting mix, which is about two 1-cubic-foot bags with a little left over. A tomato wants at least 5 gallons (about 0.67 cubic feet) per plant, so this box is right for two small plants, not four. Lining the bottom with landscape fabric, not gravel, keeps soil in without reducing usable volume.
Step-by-Step: Build a Cedar Box in One Hour
- Cut the boards. Cut four 24-inch pieces and four 12-inch pieces of 2×6 cedar, plus four 10-inch lengths of 2×2 for corner posts. Square cuts keep the box from rocking.
- Pre-drill. Drill pilot holes about 3/4 inch from each board end so the wood does not split near the edge.
- Assemble two ends. Screw two 12-inch boards to each pair of corner posts, stacking them flush to form two end frames.
- Join the long sides. Fasten the four 24-inch boards across the two ends, checking with a speed square that corners are square.
- Add the base. Screw slats across the bottom with a quarter-inch gap between them, or drill holes in a plywood base. Water must be able to leave.
- Line and fill. Staple landscape fabric to the inside walls and bottom, cut slits for drainage, then fill with a potting mix made for containers, not garden soil, which compacts.
The reason for each step is the same: square joints, protected end grain and open drainage are what decide whether a homemade box lasts three seasons or ten.
Plant Choices That Suit Small DIY Containers
Shallow boxes of 8 to 10 inches suit lettuce, spinach, radishes and herbs such as basil and thyme. Deeper tubs and bags handle peppers, determinate tomatoes, bush beans and compact cucumbers. For ornamental use, combine one tall plant, one filler and one trailing plant in a 14-inch container for a full look. Water small containers more often than in-ground beds, because they warm and dry quickly, and feed lightly every two to three weeks since nutrients wash out through the drainage holes.
Tools You Actually Need
- A cordless drill or impact driver in a 12V or 18V class. Brands such as DEWALT, Milwaukee and Ryobi all sell entry-level kits.
- A speed square and a handsaw or miter saw for clean cuts.
- Half-inch wood and metal drill bits for drainage.
- Exterior-rated screws; coated or stainless hold up better than bare steel.
- Gloves, safety glasses and a dust mask for cutting and concrete.
Decision Matrix
| Situation | Choose | Why |
|---|---|---|
| Rented balcony, weight limits | Fabric bags | Light, movable, no tools |
| Raised vegetable bed on patio | Galvanized tub | Deep and long-lasting |
| Front porch display | Cedar or concrete | Looks finished, holds soil moisture |
| Kids’ project | Painted buckets | Safe tools, fast result |
| Herb wall on a fence | Pallet planter | Vertical, cheap |
Ownership Realities
- Drainage fails first. If water sits at the bottom, roots rot, so add holes before you plant, not after.
- Wood in contact with wet soil rots from the inside; a plastic liner on the soil side extends life but must have holes at the base.
- Galvanized metal can heat and may mark decks; place a tray or feet under it.
- Rinse out old soil at season’s end and check for pests before reusing the container.
Frequently Asked Questions
What is the cheapest way to make a planter?
Drill drainage holes in a food-grade bucket or reuse a sturdy crate lined with fabric. Both cost little and can be set up in minutes.
Is pressure-treated wood safe for vegetable planters?
Modern pressure-treated lumber is generally considered lower risk than older types, but many gardeners prefer cedar or line the box for edibles. Check the lumber tag and local guidance.
How many drainage holes does a planter need?
A good rule is a half-inch hole every 6 to 8 inches across the base. More holes are better than too few, as long as soil does not escape.
Can I make a planter without power tools?
Yes. A bucket, a fabric bag or a pallet planter needs little more than scissors or a hand drill. Concrete needs only a mold and mixing tub.
How deep should a planter be?
Herbs and lettuce need 6 to 8 inches, peppers 12 inches, and tomatoes or root crops 12 to 18 inches or more.